Updates
Milly cleaned and primed!
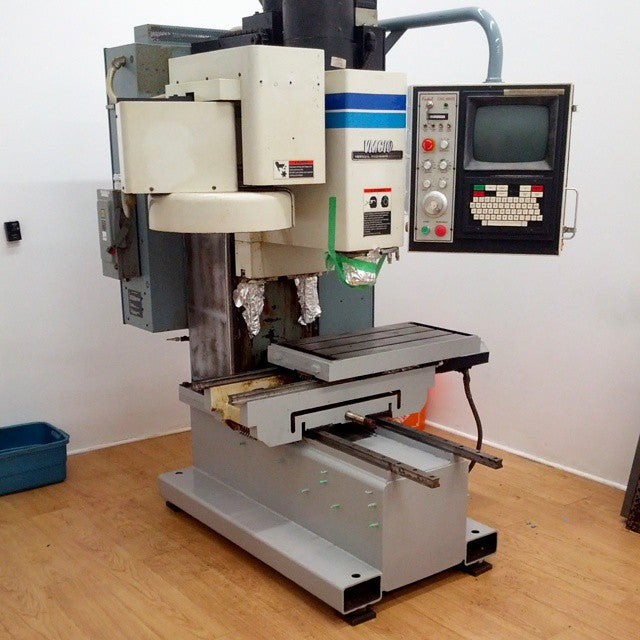
First coat of primer just went on the machine! You can see the grey of the new primer on the base, saddle and the sides of the table.
Took a while to get to this point because there was so much rust and grease that needed removing.
Still lots of work to do: gotta replace one of the grease lines, flush all of the grease lines and get the new grease packed into the bearings. Might have to re-pack one of the rail trucks with new balls as well.
Previous owners ran this machine with the incorrect grease which caused a few issues. They also ran it with synthetic coolant which stripped of all the paint, caused galvanic corrosion in a few places and lots of rust everywhere else!
After the table and base are done will be moving onto the head and column!
#instamachinist #cnc #restoration
Photo by Aaron Gough on February 15, 2015.
See the original post and comments on Instagram
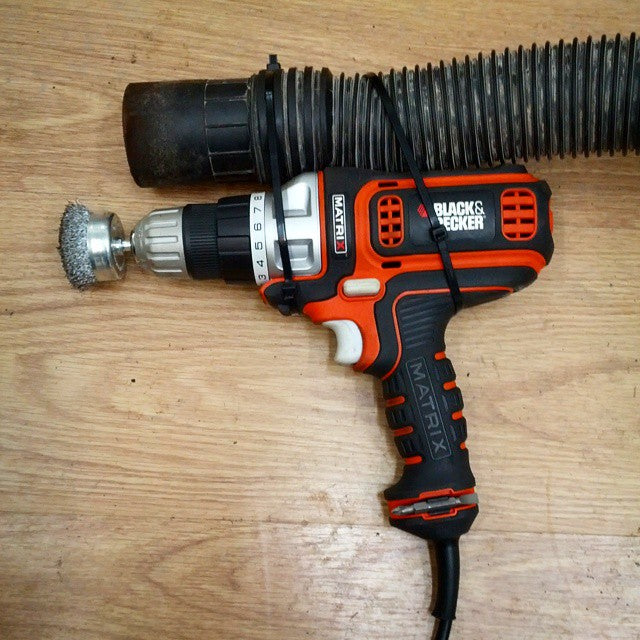
Starting the cleaning.
My super high-tech dust containment rig is in effect!
Photo by Aaron Gough on February 11, 2015.
See the original post and comments on Instagram
Photo by Aaron Gough on February 11, 2015.
See the original post and comments on Instagram
Milly arrives!
It's here! Pretty exciting day! Just finished getting my new machining center into my shop! It's a '94 Fadal VMC10, older machine but low hours.
Marked up the doorway a bit with the forklift but apart from that it went pretty smoothly!
Lots more to buy and do before I'm making chips, but I'm still super excited!
@zodiaceng looking forward to getting an Orange vise for this! Thanks for your help so far!
#knifeclub #knifemaker #knives #knifemaking #usnstagram #instamachinist
Photo by Aaron Gough on February 03, 2015.
See the original post and comments on Instagram
Third week of cooking school!
Third week of cooking school at George Brown here in Toronto! Tonight we were making soups. Really fun to get to practice and improve my knife skills in a commercial kitchen environment!
One of the main reasons I took the course was to get more exposure to how home cooks/professional chefs use their kitchen knives. Between the students and the teachers there's a really good spread of skill levels, which has already been very informative. Looking forward to taking their knife skills course later in the year!
Photo thanks to @nicoduco!
Photo by Aaron Gough on January 26, 2015. Image may contain: 1 person.
See the original post and comments on Instagram
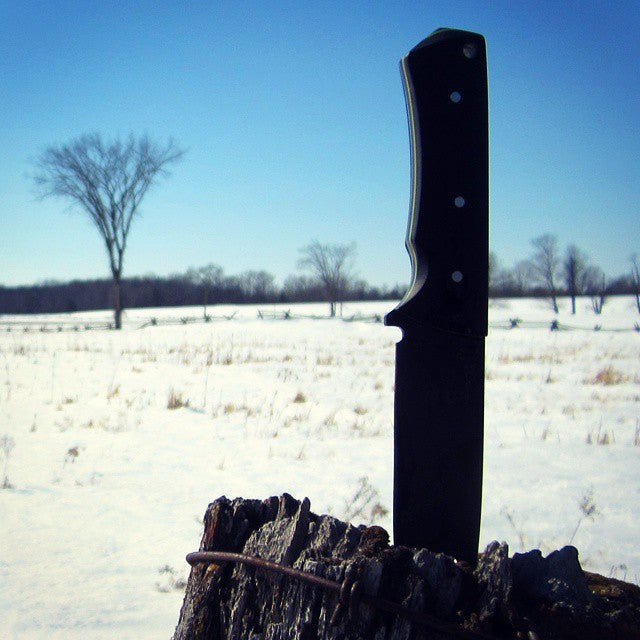
A 5" Resolute in the field...
Got this photo a while back when I was up north with some friends. This is my personal 5" Resolute. Black and green G10 handle scales, black #cerakote on the blade. Love this knife, have beaten the hell out of it and it's still kicking!
#knifeclub #knifemaker #knives #knifeporn #knifemaking #usnstagram
@daily_badass
Photo by Aaron Gough on January 21, 2015.
See the original post and comments on Instagram
#knifeclub #knifemaker #knives #knifeporn #knifemaking #usnstagram
@daily_badass
Photo by Aaron Gough on January 21, 2015.
See the original post and comments on Instagram
4" Resolute in Coyote Brown!
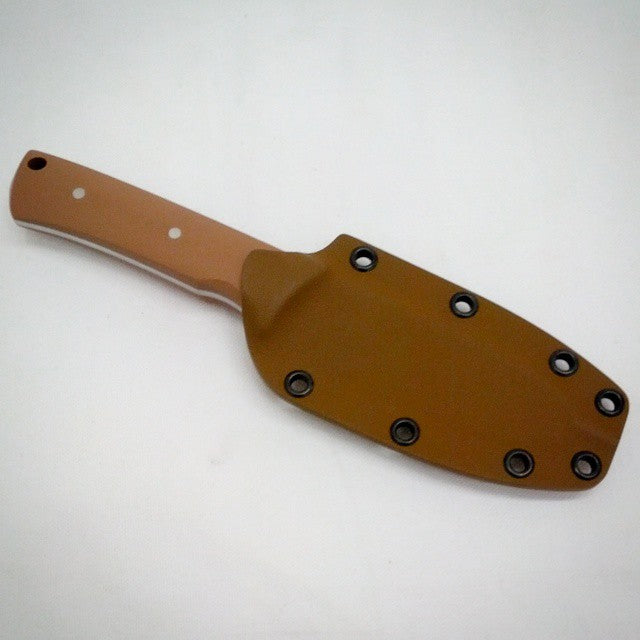
Last shot for the night! Another Resolute, this time in Coyote Brown.
Really love how this color comes out especially with the sheath!
#knifeclub #knifemaker #knifeporn #knifemaking #usnstagram
Photo by Aaron Gough on January 20, 2015.
See the original post and comments on Instagram
Really love how this color comes out especially with the sheath!
#knifeclub #knifemaker #knifeporn #knifemaking #usnstagram
Photo by Aaron Gough on January 20, 2015.
See the original post and comments on Instagram
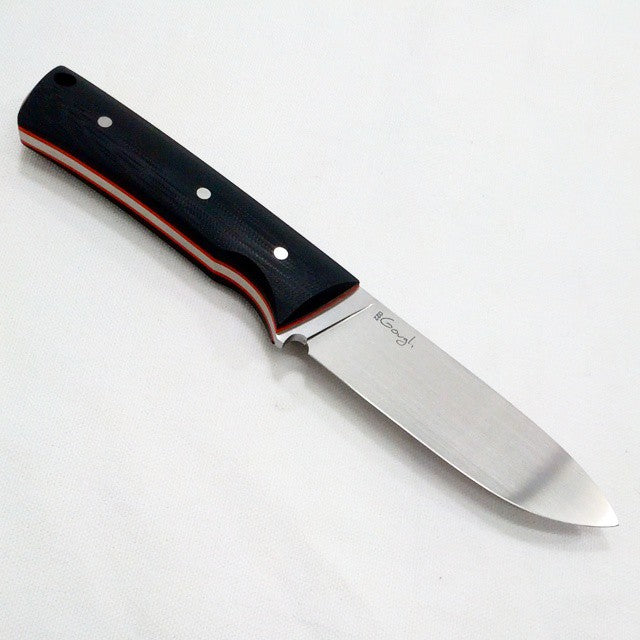
Glamour shot of a 4" Resolute!
One more glamour shot of this one! It's a 4" Resolute with black and orange G10 handle scales.
Blade is 5/32" thick A2 tool steel at 62.5HRC, full flat ground to about 0.014" behind the edge.
I love A2, even that hard and that thin the blade can still chop and baton through hardwood with no problems!
#knifeclub #knifemaker #knifeporn #knifemaking #usnstagram
Photo by Aaron Gough on January 20, 2015.
See the original post and comments on Instagram
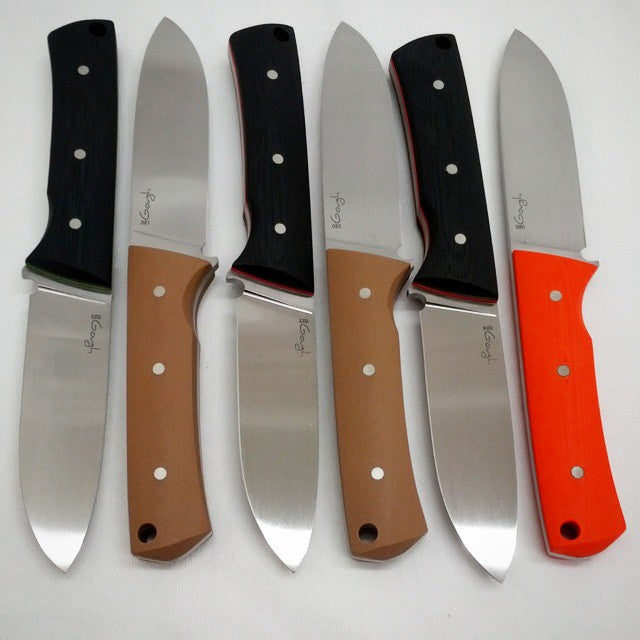
A small batch of satin knives are ready!
This group of knives is done! All sharpened up and ready to go to their new homes!
This is probably the last batch of knives I'll ever do completely by hand, the plan is to do all future batches with the help of CNC. Should be an exciting year!
#knifeclub #knifemaker #knifeporn #knifemaking #usnstagram #sharpening #
Photo by Aaron Gough on January 20, 2015.
See the original post and comments on Instagram
Inspecting a Fadal CNC machine!
Hell yeah! Flew to Ottawa today to inspect a used machining center (Fadal VMC10), everything went very well! The machine seems to run perfectly and it will soon be on its way to my shop!
Very exciting stuff!
#knifeclub #knifemaking #customknife #customknives #knives #usnfollow
See the original post and comments on Instagram
Very exciting stuff!
#knifeclub #knifemaking #customknife #customknives #knives #usnfollow
See the original post and comments on Instagram
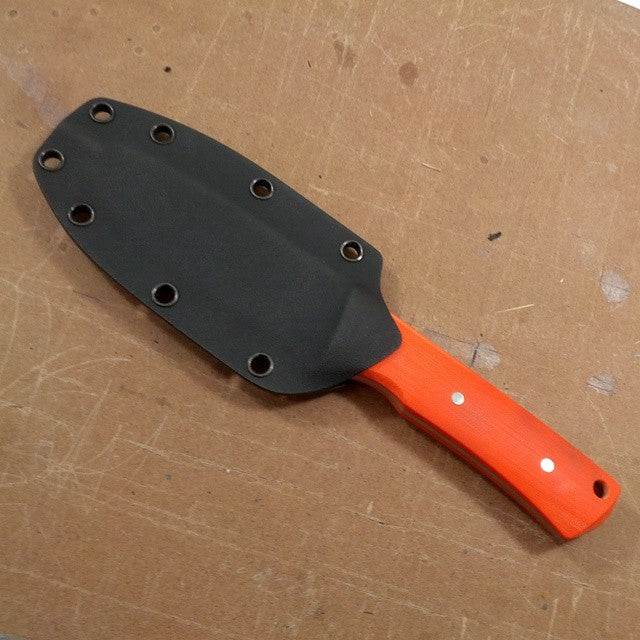
Sheath improvements...
Working on sheaths today! Really proud of how the sheaths come out these days, took a lot of time to get the process sorted! Love the 'snap' they make when re-sheathing the blade!
I heat all my kydex on a griddle set to 340°F, each piece stays on until the top surface is 290°F (as read with an infrared thermometer). The kydex is then put into the press with the knife blade.
The knife blade is coated with 3 layers of masking tape each side to create extra room inside the sheath. This helps reduce scratching, while also preventing binding if the blade is dirty.
The drain hole and the extra room inside the sheath combine to make sure that the blade don't freeze into the sheath in cold weather, the drain also make the sheath much easier to clean, just run it under a faucet.
After the sheath comes out of the press (stays in there for 5 minutes) I then mark the outline and rivet holes using a template, drill and rivet all the holes and then rough cut the sheath on the band saw.
Final shaping is done using a dull 120 grit blaze belt on the grinder. This removes material while also melting the kydex a bit along the edges. The slight melting helps weld the two parts together. The final result looks like one piece!
If you guys have any questions about my process for kydex I'm happy to answer them!
#knifeclub #knifemaker #knifeporn #knifemaking #knives #customknife #kydex #sheathmaking #usnfollow
Photo by Aaron Gough on January 11, 2015.
See the original post and comments on Instagram
